Concrete +Wood Wall Art
in collaboration with Skyline Art

Here for the life of your project…
Once completed, the button below will open your care and maintenance instructions. I am always here if questions arise.
Welcome into my shop…
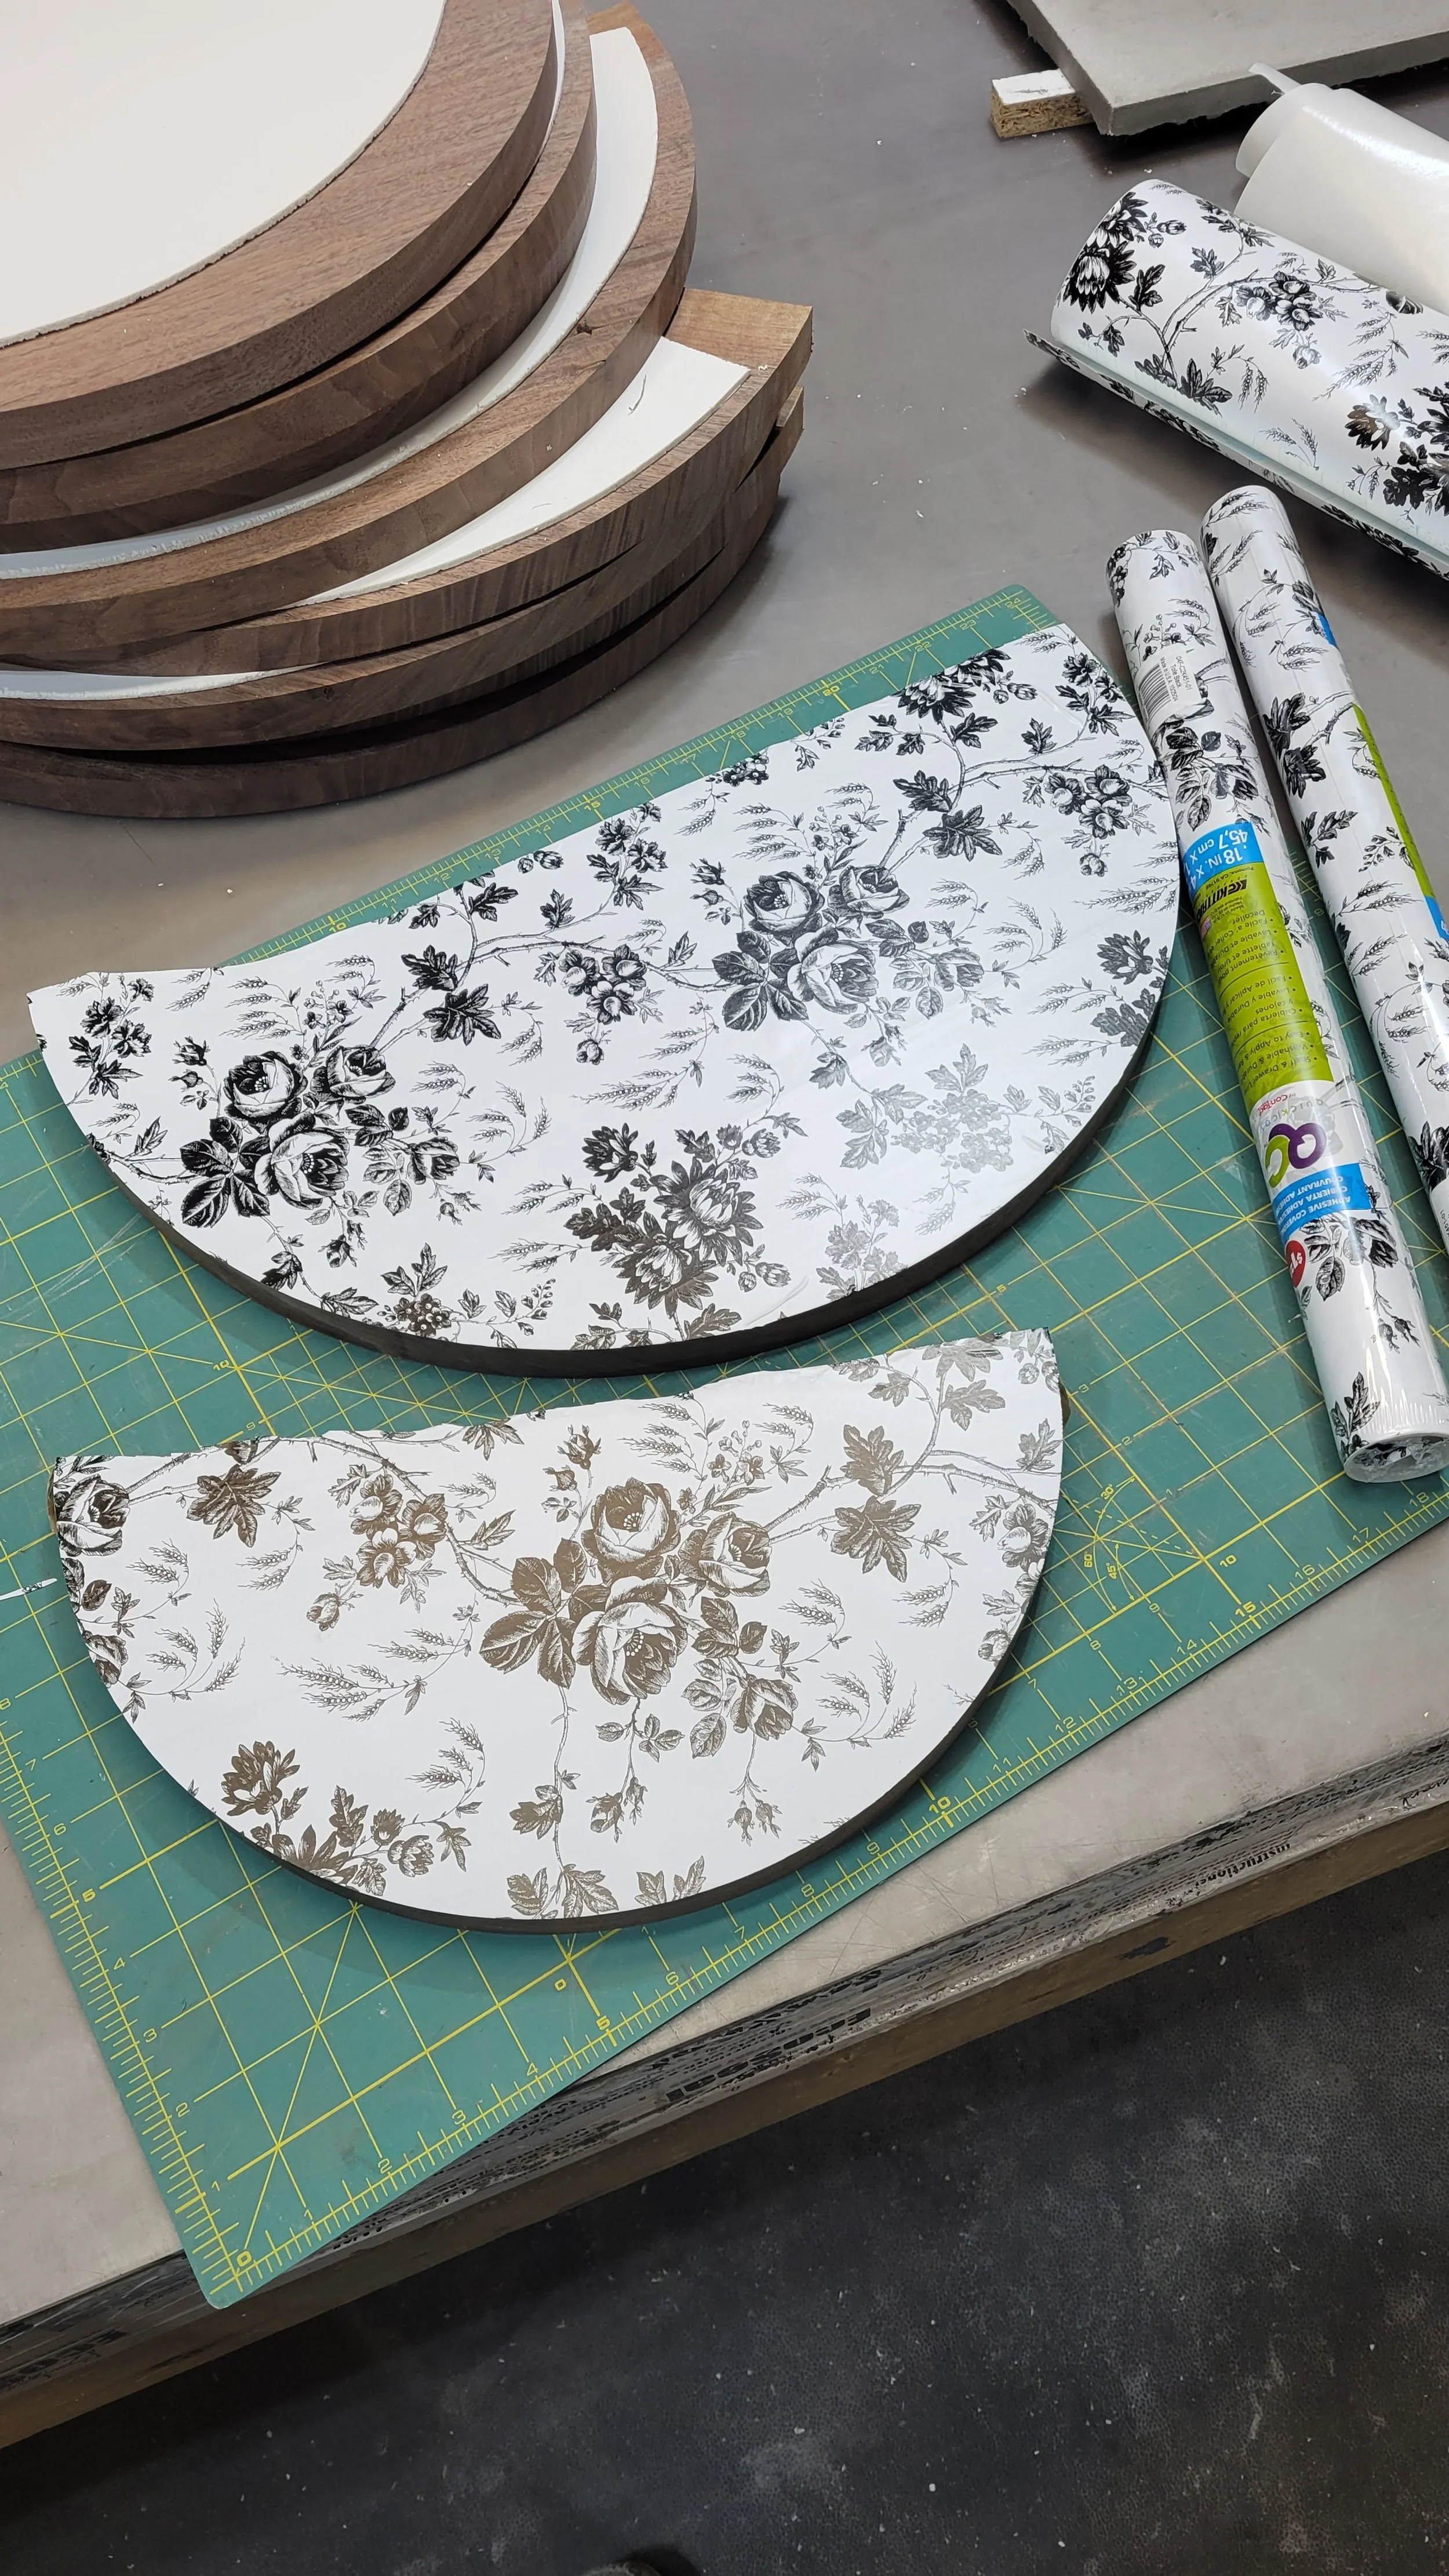
Below are just a few images taken during the making of your concrete and wood wall pieces.
I hope you and your clients enjoy seeing the process - I simply ask this is not shared via mass media…
I’ve spent almost 10 years refining this process. Thank you in advance.
Milling the wood
Some photos of the wood in slab form. This was an incredibly old tree. Some of these slabs spanned over 4’ wide…. we we have barely been able to wrap our arms around 1/2 of that tree. The figuring in the grain is incredible…. honestly, some of the most beautiful wood I’ve worked with.
To cut the slabs down to size, I trace some templates, use a track saw to cut them closer to size and then mill them. This consists of running them on a jointer to flatten one side and then taking them over to the planer to make a parallel face. It’s so fun to see the rough wood get smooth through the milling process - the grain really starts to shine.


Making the forms
Once the wood is milled, I then move to the bandsaw to cut out and refine the circle shape for both the wood parts and the areas where the concrete will be poured.


Pouring the concrete
Some stills of the process of pouring the concrete - there is A LOT going on during this time, so I always think, “I should have taken more photos!” :-)
Laying out all the circles in my driveway to decide which ones are getting which shades of blue, covering the wood backs with the best Dollar Tree contact paper I can find (concrete gets EVERYWHERE during a pour, so this saves on a lot of sanding afterwards), and some shots of the concrete going into the forms.
The final photo is the concrete getting processed with a wet polisher.